So today my eldest daughter has been invited to a birthday party. Now, I have a stack of cards piled up in a box from when my crafty mojo gets going but unfortunately, I rarely have inspiration to make a mans card or a little boys for that matter. Luckily this time around I had called his mum and asked her what he liked so I could buy an appropriate present for him. In the end money is tight this month so we have had to cut back in certain areas of our spending so I felt I really needed to go all out on this little mans card, and seeing as he liked Xbox so much, why not a controller?
I know you have probably seen these types of cards all over the place but I really wanted to give it a little more than just 'cut out circles. stick down. done.'. So for this card I used the following:
- Dylusions sprays from Ranger
- Lemon zest
- London Blue
- Postbox Red
- Fresh Lime
- Distress Inks and markers
- Black Soot
- Pumice stone
- Crushed Olive
- Mustard Seed
- Water brush
- White gel pen -my favourite is Uniball signo Broad white gel pen
- Black cardstock for the base
- white cardstock for the buttons
- Glossy accents
- white embossing powder - stampendous white
- Heat gun
- foam adhesive
First off, I did a search for an Xbox controller template and found the perfect one from
here. On the plus side, if you have a cutting machine, it also has a cut file as well as a digi stamp! Lucky us huh? I wanted a card around a 5x7 size so I printed my controller on regular copy paper to use for my template. I do have a cutting machine but sadly its been a while since I properly tidied my craft area and they need to be dug out before I can use them. So I did it the old fashioned way and traced and cut around all of the pieces, however if you have a cutting machine, feel free to use it here!

I folded my black card in half (a scoreboard comes in handy here if you have one) laid my template against the score line with the card folded in half and marked the bottom of the controller. I used my ruler to draw a straight line across so that when I lined up my template, it would be even and sit properly on a table. I stuck it down temporarily and cut around it to finish off the base of my card.
Instead of cutting out all the circles and tracing them onto my white cardstock I printed the whole thing out again and just cut them directly from the card.


Once I had all of my pieces ready, I pulled up a picture of an Xbox controller on Google and went to work copying the buttons. I knew I wanted my colours to be bright because if you have ever seen one of these controllers, the buttons glow. I really wanted to retain that quality when I coloured them so I started by spraying each of the letter buttons with my dylusions sprays. I let these soak in a little before hitting them with the heat gun to speed up drying time. To draw the letters I used my white gel pen which I knew would mix with the ink and lighten it up in areas. To darken other areas I used mustard seed for yellow, and crushed olive for green. The red and blue were dark enough so I just 'pulled' the colour out of them in areas with water. To do this you just paint plain water on where you want it and dab it off with a towel. I used this technique on the logo button as well.

For the grey buttons I did the same basic concept, except that I used a blending tool with pumice stone, white gel pen for the highlights and pumice stone marker and a dry water brush (this gives a more concentrated colour) for the shading. I also used the blending tool and black soot for the small black buttons but concentrated the colour on one side to give it a highlight. I stuck all of these buttons down with either foam adhesive or glossy accents.

So far it was looking great but still a bit flat for my taste. To give the controller itself a little bit more dimension, I used my white gel pen around the joysticks as highlights and added glossy accents to some of the buttons. Beware though. I made the mistake of going over my coloured buttons with the glossy accents and unfortunately for me, it blended all of my shading and colours so they no longer had the detail that I wanted for them. Oh well. Live and Learn!
Once my glues were dry enough to handle, I began work on the inside of the card. We decided instead of buying a present, to just give him a little cash. You know how it is, though, when kids are riping through cards and money is flying and sometimes gets lost? No? Is that just me? Anyway, I thought it would be nice for the card to have a little pocket specifically for holding a folded up bill. I used leftover black card to make the pocket which I glued the edges with glossy accents. I kept this in place with wooden clothes pins until it was set. I then stamped a happy birthday sentiment and embossed it with white embossing powder.


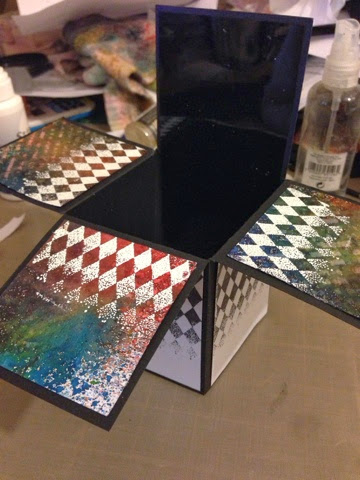
So here is the finished card. Not my usual thing but I really liked it. Besides all of the intricate shading work I did, it was a fairly quick and easy card to make. I may just have to do a few of these just to have on hand!
I hope my little girl has a great time at this party and that the birthday boy loves the card! I know he wont appreciate the work that has gone into it but that's not really what its about is it? I had fun making it and I hope you will all give it a go!
Happy Crafting!!
Sam.